
Reliable Supply and Demand Zones: Finding Non-Repainting MT5 Indicators for Systematic Trading
The Shift Toward Precision: Why Supply and Demand Still Dominates MT5 Trading
In the evolving landscape of financial markets, the year 2026 has seen a significant shift in how retail traders approach technical analysis. The days of relying solely on lagging oscillators like the RSI or basic moving averages are fading. Instead, serious market participants are gravitating toward the foundational mechanics of price movement: supply and demand. By identifying where institutional orders are likely clustered, traders can align themselves with the ‘big money’ rather than being liquidated by it.
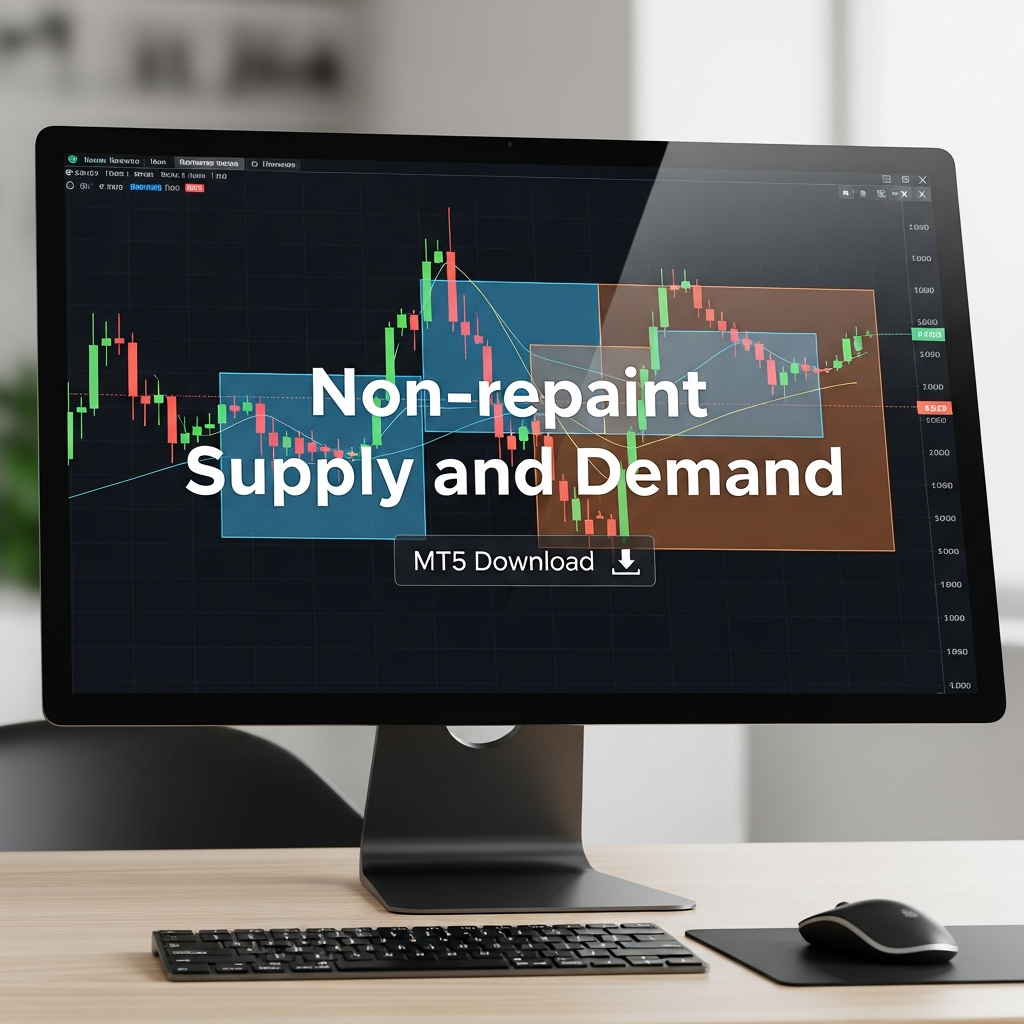
However, the biggest hurdle for MetaTrader 5 (MT5) users remains the issue of ‘repainting.’ Many free indicators available for download promise to highlight these zones, only to shift or disappear entirely once the price moves against them. To build a sustainable trading business, you need a non-repainting supply and demand MT5 download that provides historical accuracy and real-time reliability. This guide explores the mechanics of these zones and how to integrate high-quality indicators into your MT5 platform.
Defining the Non-Repaint Advantage
Before searching for a download link, it is crucial to understand what repainting is and why it destroys trading accounts. A repainting indicator changes its past signals to make its historical performance look perfect. For example, a supply zone might appear on your chart, but if the price breaks through it, the indicator simply deletes the zone as if it never existed.
A non-repainting supply and demand indicator for MT5 fixes the zone the moment the candle closes. If the zone is breached, the indicator marks it as ‘broken’ or ‘invalidated’ but keeps it on the chart for historical review. This honesty is vital for backtesting. Without it, you cannot accurately calculate your win rate or drawdowns. In the current 2026 trading environment, where algorithmic precision is the standard, having a fixed data point is the difference between a professional setup and a gambling habit.
The Anatomy of Institutional Supply and Demand Zones
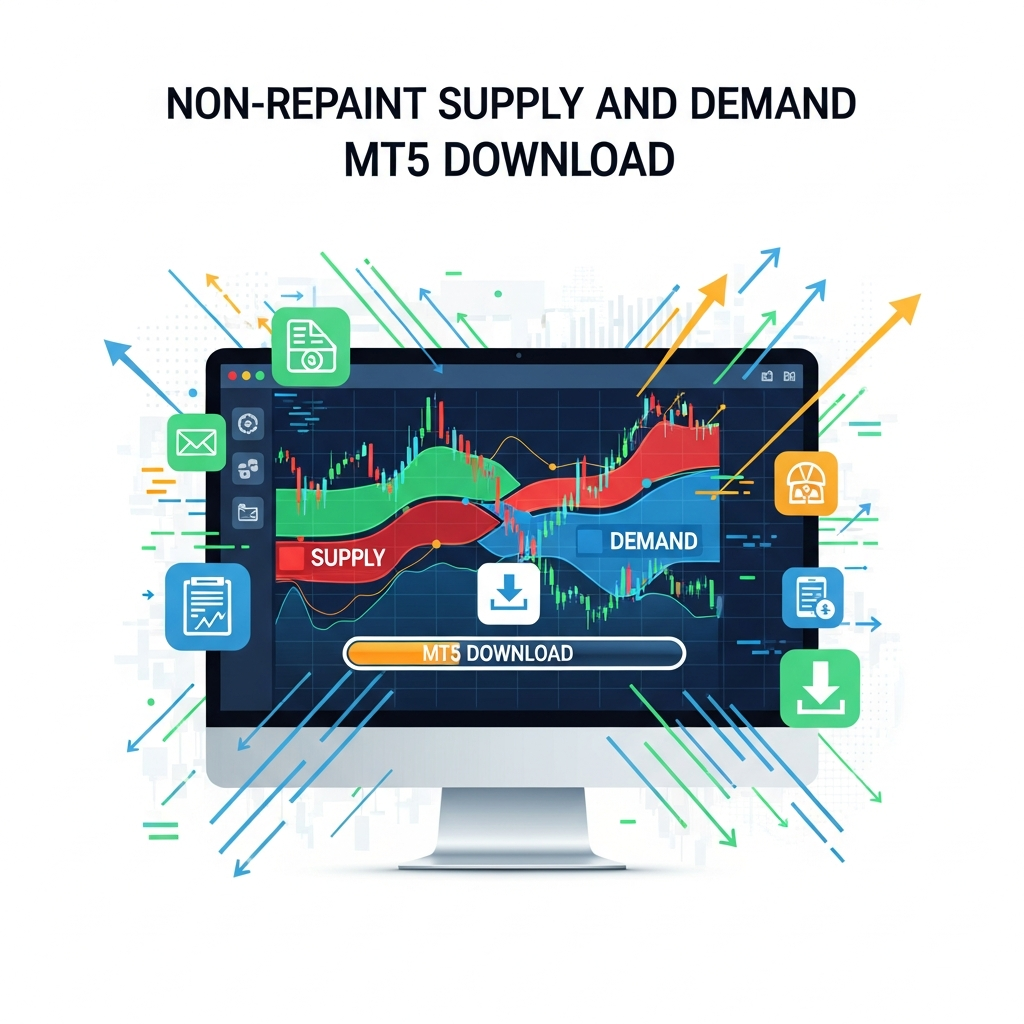
Supply and demand zones are not just ‘support and resistance’ lines. They represent areas of significant price imbalance where large institutions (banks, hedge funds, and central banks) were unable to fill their entire orders. When the price returns to these ‘unfilled orders,’ we often see a sharp reversal.
1. The Accumulation/Distribution Phase
Before a massive move, price usually tightens into a small range. This is where big players are building their positions. On an MT5 chart, this looks like a cluster of small-bodied candles.
2. The Displacement (The ‘Basing’ Candle)
The hallmark of a valid supply or demand zone is the ‘displacement.’ This is a large, impulsive candle that leaves the zone quickly. The stronger the departure, the more significant the imbalance. A high-quality MT5 indicator will specifically look for these explosive moves to draw its boxes.
3. The Return to Zone
The ‘Download’ you seek should prioritize the first return to the zone (the ‘freshness’ of the zone). Typically, the first time price touches a non-repainted supply zone after its creation is the highest probability trade.
How to Choose the Right MT5 Supply and Demand Indicator Download
When searching for an MT5 download, don’t just click the first free link you see on a forum. Look for specific technical features that cater to the modern 2026 market structure:
- Multi-Timeframe (MTF) Analysis: The indicator should allow you to see H4 supply zones while you are trading on the M15 chart.
- Alert Functionality: Since supply and demand trading requires patience, the indicator must provide push notifications or email alerts when price enters a zone.
- Zone Strength Filtering: Not all zones are equal. A good indicator will categorize zones based on how many times they have been touched and the strength of the initial departure.
- Broker-Independent Calculation: Ensure the indicator calculates zones based on price action rather than just tick volume, which can vary between brokers.
Step-by-Step: Installing and Setting Up Your MT5 Indicator
Once you have secured a reliable non-repaint supply and demand MT5 download, follow these steps to ensure it is optimized for your terminal:
- Open Data Folder: In MT5, go to File > Open Data Folder.
- Navigate to MQL5: Open the MQL5 folder and then the Indicators subfolder.
- Paste the File: Copy your downloaded .ex5 file into this folder.
- Refresh and Attach: Right-click the ‘Indicators’ list in your Navigator window, click ‘Refresh,’ and then drag the indicator onto your desired pair.
- Adjust Inputs: For 2026 market volatility, many traders find that increasing the ‘Minimum Zone Width’ prevents getting stopped out by minor liquidity sweeps.
Advanced Strategy: Combining Zones with Price Action
Simply downloading an indicator and trading every box it draws is a recipe for disaster. Even the best non-repainting tool requires a human element for confirmation. Here is how to trade the zones effectively:
The ‘Wait and See’ Approach
Instead of placing a limit order at the edge of a demand zone, wait for the price to enter the zone. Look for a ‘Change of Character’ (CHoCH) on a lower timeframe. For instance, if price hits a Daily supply zone, drop down to the 5-minute chart and wait for a break of structure to the downside before entering.
Confluence with Liquidity
Institutional traders often hunt for ‘stop-loss’ clusters located just above or below obvious supply and demand zones. If you see a zone that sits right behind a double top or double bottom, that zone is much more likely to hold because the market has already cleared the necessary liquidity to fuel the move.
Why MetaTrader 5 is the Preferred Platform in 2026
While MetaTrader 4 served the industry for decades, MT5 has officially become the gold standard for supply and demand traders. The primary reason is the native multi-threaded strategy tester and the expanded range of timeframes (like H2, H8, and M12). Supply and demand zones often reveal themselves more clearly on these non-standard timeframes, allowing MT5 users to find hidden ‘hidden bases’ that MT4 users simply cannot see.
Furthermore, the MQL5 language is significantly faster than its predecessor, allowing non-repainting indicators to scan 20+ currency pairs for zones simultaneously without lagging your CPU. This is essential for traders managing multiple charts or using automated alerts.
Risk Management in Supply and Demand Trading
Even a non-repainting zone can fail. In fact, every zone will eventually be broken. Proper risk management is the only way to survive the learning curve. When using an MT5 supply and demand tool, consider these rules:
- The 1% Rule: Never risk more than 1% of your account balance on a single zone.
- Stop Loss Placement: Your stop loss should always be placed a few pips outside the zone (above for supply, below for demand) to account for market spread and minor ‘wicking.’
- Take Profit Targets: Aim for a minimum of 1:3 Reward-to-Risk ratio. Supply and demand zones are powerful because they often initiate large swings, making these ratios highly achievable.
The Verdict on Automated Zone Detection
The quest for a “non-repaint supply and demand MT5 download” is ultimately a quest for clarity. In a market filled with noise, these indicators act as a filter, highlighting the areas where the most significant buying and selling occurred. While no software can predict the future with 100% certainty, a tool that remains honest about its past performance (non-repainting) provides the data necessary to refine your edge.
By combining a high-quality MT5 indicator with a deep understanding of market structure and liquidity, you can move away from chasing the market and start anticipating it. Remember, the goal is not to find a ‘holy grail’ download, but to find a reliable companion for your analytical process.
Conclusion
Mastering supply and demand trading on MetaTrader 5 requires both the right tools and the right mindset. As we progress through 2026, the integration of institutional-grade analysis into retail platforms has never been easier. Ensure your chosen indicator is non-repainting, practice your entries on a demo account, and always respect the power of the market’s natural order flow. With patience and the right setup, supply and demand zones can become the cornerstone of a successful trading career.